

How to Use a Multimeter for Basic Appliance Troubleshooting
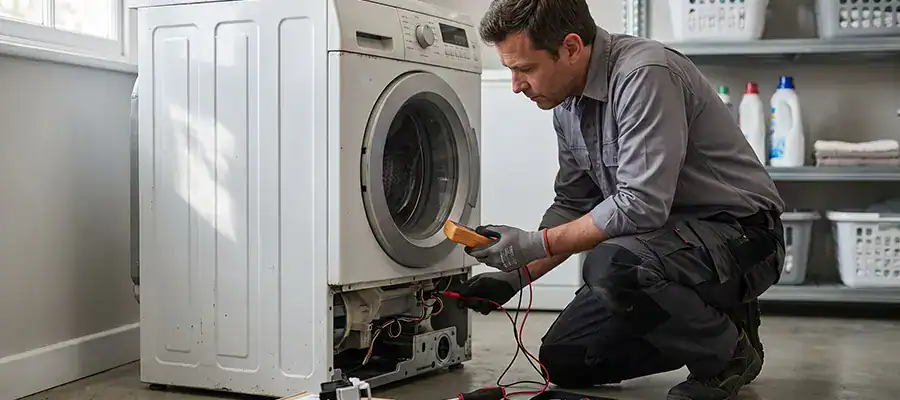
Skip the costly repair bills. With a multimeter and a little patience, you can diagnose many household appliance issues yourself.
Troubleshooting broken appliances isn’t magic; it’s just a process of elimination. This guide breaks down how a multimeter works, how to use it safely, and how to troubleshoot common home appliance issues like a seasoned pro.
What Is a Multimeter?
A multimeter is a handheld electrical testing tool that measures:
- Voltage — the electrical force driving current through a circuit
- Current — the flow of electricity (measured in amps)
- Resistance — how much a component opposes electrical flow (measured in ohms)
- Continuity — whether a circuit is complete or broken
Multimeters come in two types: analog (with a needle dial) and digital (with an LCD display). For most DIYers, a digital multimeter (DMM) is the easier and more accurate option. A basic model costs between $15–$50 and is widely available at hardware stores.
Safety Precautions Before You Start
Electrical work carries real risks. Before picking up your multimeter, take these precautions seriously:
- Unplug the appliance before testing components — unless you’re measuring live voltage
- Inspect your multimeter’s leads for cracks or exposed wire before each use
- Never exceed the multimeter’s rated voltage — check the manual for limits
- Keep one hand in your pocket when probing live circuits to reduce the risk of current passing through your chest
- Work in a dry environment — moisture and electricity don’t mix
- Wear rubber-soled shoes for added insulation
When in doubt, power off first.
Understanding Multimeter Settings
The dial on your multimeter selects what you’re measuring. Here’s a quick breakdown:
- V~ (AC Voltage) — for household current (outlets, appliances)
- V⎓ (DC Voltage) — for batteries and low-voltage electronics
- Ω (Ohms/Resistance) — for testing components like heating elements
- Continuity symbol (🔊 or a diode symbol) — beeps when a circuit is complete
- A (Amps) — for measuring current draw (less commonly needed for appliance troubleshooting)
Tip: Always start with a higher range setting and work down to avoid damaging the meter.
How to Test Voltage
Use voltage testing to check whether an outlet or component is receiving power.
- Set the dial to V~ (AC) for household appliances
- Insert the black lead into the COM port and the red lead into the VΩ port
- Touch the black probe to neutral (or ground) and the red probe to the live terminal
- Read the display — a standard US outlet should read around 120V
A significantly lower or zero reading suggests a wiring issue or faulty outlet.
How to Test Continuity
Continuity testing tells you whether electricity can flow through a component — useful for checking fuses, switches, and power cords.
- Unplug the appliance
- Set the dial to the continuity symbol
- Touch both probes to either end of the component you’re testing
- A beep means continuity is good — current can flow
- Silence means the circuit is broken — the component is likely faulty
This is one of the most useful tests for troubleshooting everyday appliances.
How to Test Resistance
Resistance testing helps you evaluate heating elements, motors, and other components.
- Disconnect the component from the circuit entirely
- Set the dial to Ω (Ohms)
- Touch the probes to both ends of the component
- Compare your reading to the manufacturer’s spec (usually found in the service manual)
- Near zero ohms — short circuit
- OL (overload) — open circuit or broken component
- Within spec — component is functioning correctly
Common Appliance Troubleshooting Scenarios
Here’s how to apply what you’ve learned to everyday appliances:
Dishwasher not heating water
- Test the heating element for continuity — no beep means it needs replacing
- Check resistance; most dishwasher elements read between 15–30 ohms
Dryer not heating
- Test the thermal fuse for continuity — a blown fuse reads as an open circuit
- Check the heating element for resistance; typical range is 8–15 ohms
Microwave not turning on
- Test the door interlock switches for continuity when pressed
- Check the fuse on the control board for continuity
Washing machine won’t start
- Test the lid switch or door latch switch for continuity
- Check the power cord from the plug to the terminals for continuity
Refrigerator not cooling
- Test the start relay — shake it first; a rattle often indicates failure
- Check continuity on the defrost heater and thermostat
When to Call a Professional
A multimeter is a powerful diagnostic tool, but it has its limits. Call a licensed electrician or appliance technician if:
- You find live wiring that’s damaged or exposed
- The appliance uses 240V (dryers, ovens, HVAC systems), and you’re not confident working with high voltage
- The issue involves gas components in a gas appliance
- You’ve tested everything and still can’t identify the fault
- The repair requires opening a microwave capacitor — these store lethal charge even when unplugged
Knowing when to stop is part of being a smart DIYer.
FAQs: Using a Multimeter
Q: What is the best multimeter for a beginner DIYer?
A basic digital multimeter from brands like Fluke, Klein Tools, or AstroAI is a solid starting point. Look for auto-ranging capability (automatically selects the correct range), a clear display, and a continuity beep function. Budget $20–$50 for a reliable entry-level unit.
Q: Can I use a multimeter on a plugged-in appliance?
Yes, but only when testing live voltage — and only if you’re confident working with live circuits. For all other tests (continuity, resistance), always unplug the appliance first.
Q: What does “OL” mean on my multimeter?
“OL” stands for overload. It means the reading exceeds the selected range, or — in resistance and continuity tests — that the circuit is open (broken). Either switch to a higher range or interpret it as a failed component.
Q: How do I know if a fuse is blown?
Set your multimeter to continuity mode and touch the probes to each end of the fuse. A beep means the fuse is good. No beep means it’s blown and needs replacing.
Q: Can a multimeter detect a faulty outlet?
Yes. Set the dial to AC voltage (V~) and insert the probes into the outlet slots. A reading of approximately 120V means the outlet is working. A zero or significantly lower reading suggests a wiring issue or tripped breaker.
Q: Is it safe to test a microwave with a multimeter?
With caution. You can safely test door switches, thermal cutouts, and fuses with the microwave unplugged. However, never probe the capacitor — it can retain a lethal charge long after the unit is unplugged. Leave capacitor discharge to a professional.
Q: Why does my multimeter read differently each time I test?
Fluctuating readings can result from loose probe connections, a low battery in the meter, damaged leads, or an unstable power source. Check your leads and battery first. If the issue persists, the multimeter itself may be faulty.
Q: When should I replace a component versus the whole appliance?
A good rule of thumb: if the repair cost exceeds 50% of the appliance’s current value, replacement may make more financial sense. For newer or high-end appliances, individual component replacement is usually worth it — especially for parts like heating elements, fuses, and switches that are inexpensive and easy to source.
More Articles
0 Comments